Greetings Doll enthusiasts,
When I first set out to create the instruction manual for Aurora, the first of the new Lil Missy Dolls, I had a vision: clear, concise, and, most importantly, simple instructions. You know, something along the lines of those Lego manuals that make even the most complex builds seem like child’s play. “How hard could it be?” I thought. Six months later, I can confirm: very, very hard.
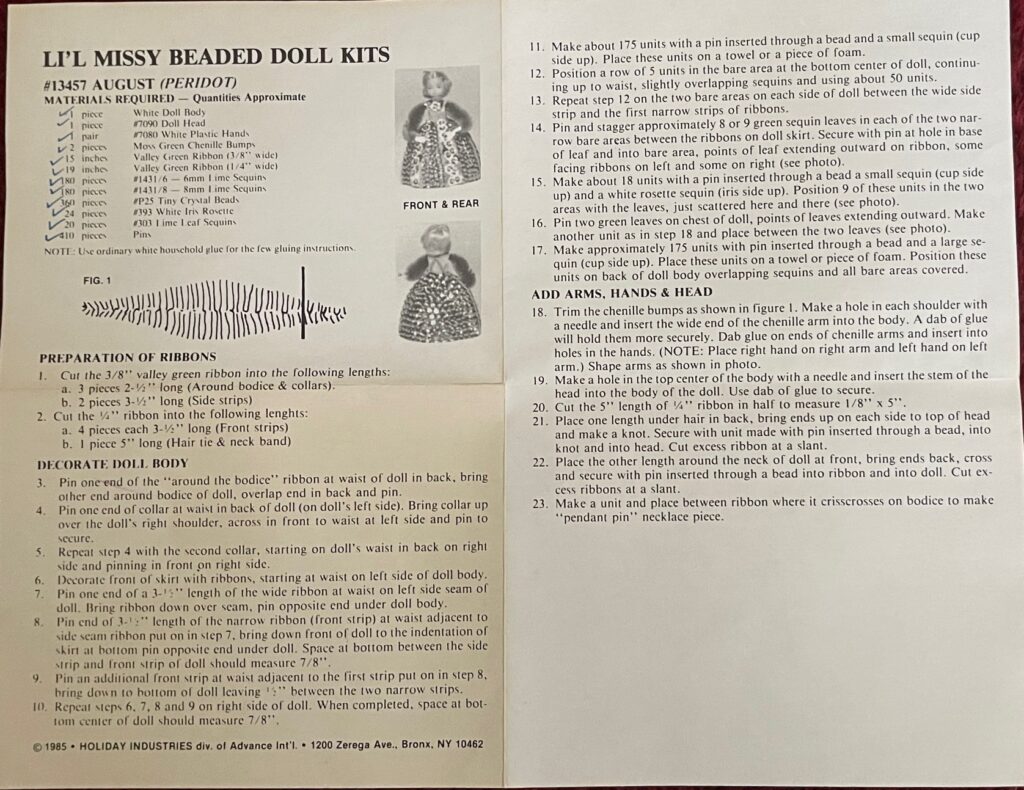
My journey began with high hopes and an 8.5×11 text-based instruction page. After all, that’s what the original Lil Missy kits from the 1970s used, and it worked just fine back then.

But as it turns out, times have changed, and so have the expectations of my product testers. “More graphics,” they said. “We need to see how it’s done, not just read about it.” Fair point.

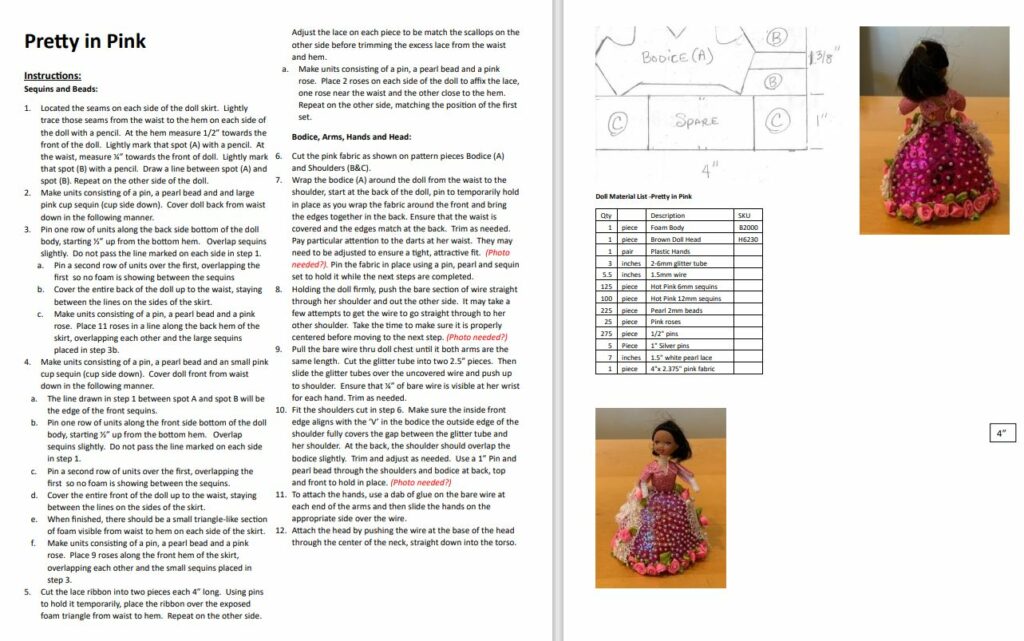
So, I rolled up my sleeves and upgraded to a 3-page manual, complete with six photos. Surely, this would do the trick! Well, not quite. More feedback rolled in: “Still not enough photos.” “We need close-ups.” “Are you sure this step goes before that one?”

And so began my descent into the rabbit hole of Photoshop and Illustrator, where I spent more hours than I’d care to admit tweaking, adjusting, and adding yet more graphics.

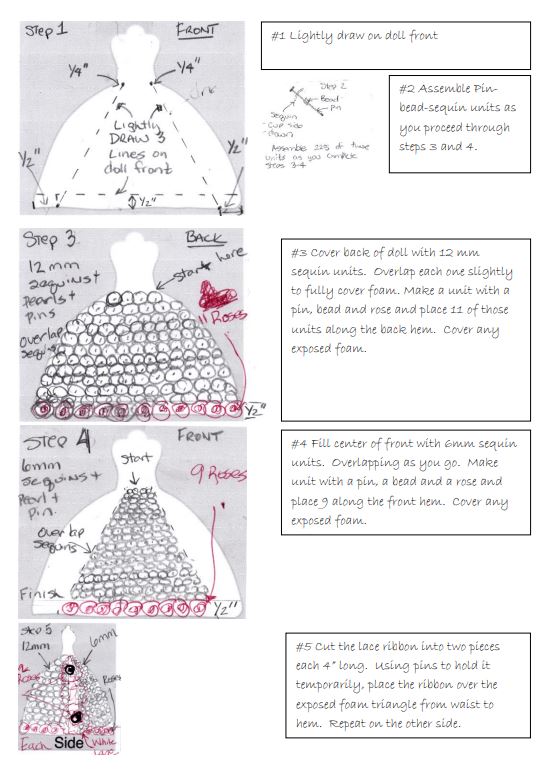
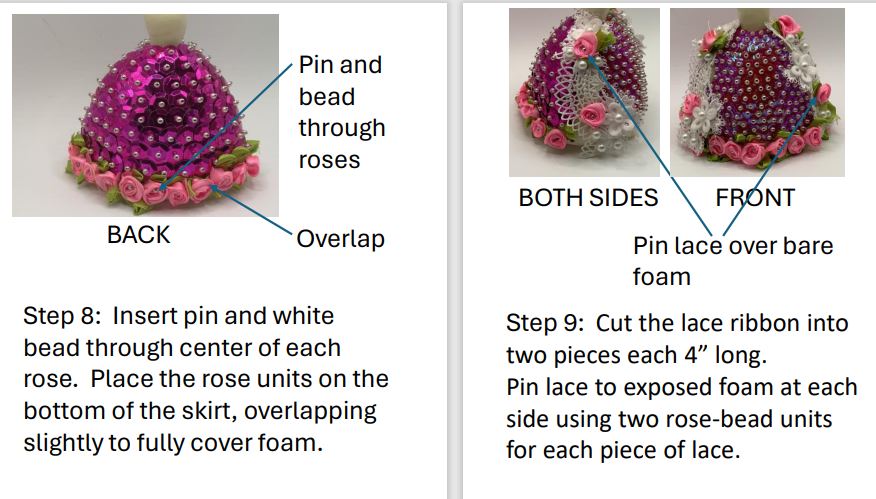
Before I knew it, my “simple” manual had ballooned into a 24-page booklet, complete with color drawings or photos for each step. Yes, each and every step. I might as well have written a novel at this point, but at least now, no one could claim there weren’t enough visuals.
The irony? Creating the dolls themselves took less time than putting together these manuals. Aurora’s manual is finally complete, and I’m eyeing the finish line for Raven and Rose.
So, here’s to the instructional manual—a beast far more complex than I ever anticipated. But if it helps someone bring a little more beauty into their life with a Lil Missy Doll, then every painstakingly crafted page was worth it. Now, where did I put that video camera?
